 Honda Accord: Rear Defogger/Heated Door Mirror*Button
Press the rear defogger and heated door mirror button to defog the rear
window
and mirrors when the ignition switch is in ON
 .
.
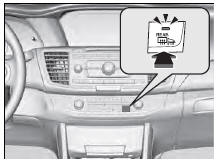

The rear defogger and heated door mirrors automatically switch off after 20 minutes.
However, if the outside temperature is 18°F (-8°C) or below, they do not automatically switch off.
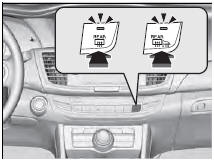

The rear defogger and heated door mirrors automatically switch off after 10-30 minutes depending on the outside temperature.
However, if the outside temperature is 32°F (0°C) or below, they do not automatically switch off.
NOTICE
When cleaning the inside of the rear window, be careful not to damage the heating wires.
It is critical to wipe the window from side to side along the defogger heating wires.
This system consumes a lot of power, so turn it off when the window has been defogged.
Also, do not use the system for a long period when the engine is idling. This may weaken the battery, making it difficult to start the engine.
 Brightness Control
When the parking lights are turned on and the
ignition switch is in ON (w*1, you can use the
brightness control knob to adjust instrument
panel brightness.
Brighten: Turn the knob to the righ ...
 Driving Position Memory System*
You can store two driver’s seat positions with the driving position memory
system.
When you unlock and open the driver’s door with a remote, the seat adjusts
automatically to one of the two ...
See also:
Differential Carrier/Final Driven Gear Replacemen
1. Loosen the bolts in a crisscross pattern in several
steps, then remove the bolts and the final driven gear
(A) from the differential carrier (B).
2. Install the final driven gear with the cham ...
Dust and Pollen Filter Replacement
1. Open the glove box. Remove the glove box stop on
the right side, then let the glove box hang down (see
page 20-174).
2. Remove the dust and pollen filter assembly (A) from
the blower unit.
...
TPMS (Tire Pressure Monitoring System)
Instead of directly measuring the pressure in each tire, the TPMS on this
vehicle
monitors and compares the rolling radius and rotational characteristics of each
wheel and tire while you are dri ...