 Honda Accord: Front Door Outer Handle Replacement
NOTE: - Put on gloves t o protect your hands.
- Take care not to scratch the door.
1 . Remove the door panel: - 2-door (see page 20-12) - 4-door (see page 20-17)
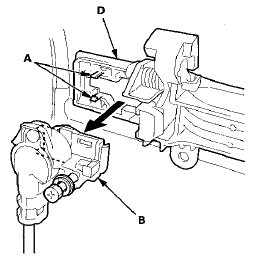
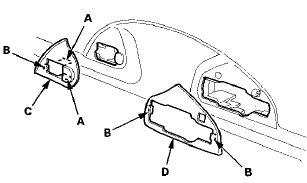
2. Disconnect the power door lock actuator connector (A), and detach the harness clips (B).
2-door
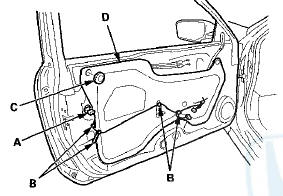
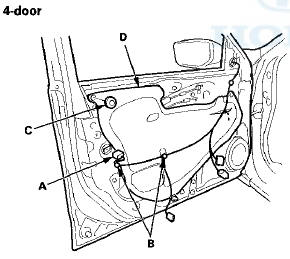
3. Remove the rear plug cap (C), then remove the plastic cover (D) as needed.
NOTE: If the plastic cover is damaged or torn, replace it with a new one.
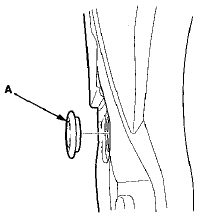
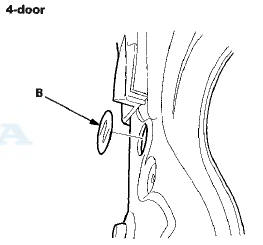
4. Remove the maintenance cap (A) (2-door) or the hole seal (B) (4-door).
2-door
5. Driver's door: Pull both side flanges (A) of the retainer (B) outward, and pull out the middle flange area (C) of the outer casing cover (D), then disconnect the lock - cylinder cable (E) from the latch. 4-door is shown; 2-door is similar.
6.2-door: Pull the glass run channel (A) away as needed, and remove the bolt, then remove the center lower channel (B) by pulling it downward.
7. While holding the outer handle cover (A), loosen the bolt until it can be pulled out half-way by hand (driver's door), or remove the bolt (passenger's door).
Release the hooks (B) of the outer handle cover, then remove the outer handle cover.
Driver's door
Passenger's door
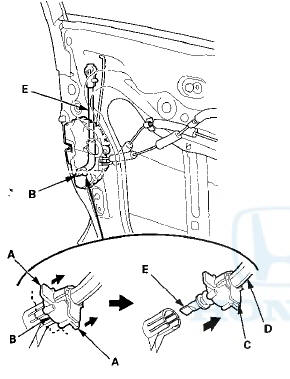
8. Release the hooks (A), then remove the lock cylinder (B) (driver's door) or the outer handle holder (C) (passenger's door) from the outer handle base (D).
Driver's door
Passenger's door
9. Driver's door: If the retainer (A) of the lock cylinder
cable (B) is damaged, release the hooks (C), then
replace it with a new one.
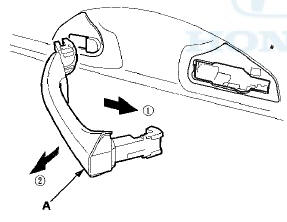
10. Pull back the outer handle (A), and out as shown to remove it from the door.
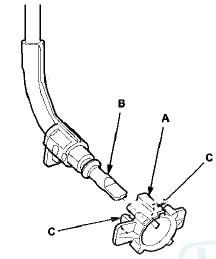
11. Release the hooks (A, B), then remove the outer
handle front seal (C) and the outer handle rear seal
(D).
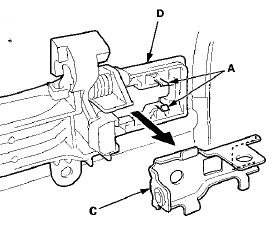
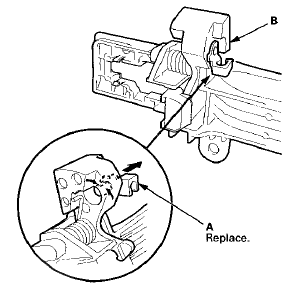
12. Remove the outer handle base (A).
-1. Release the rod fastener (B) from the outer handle rod (C).
-2. Disconnect the outer handle rod with a clip remover.
-3. Loosen the nut.
-4. Release the hook (D), and slide the outer handle base forward to release the special bolt (E) from the door.
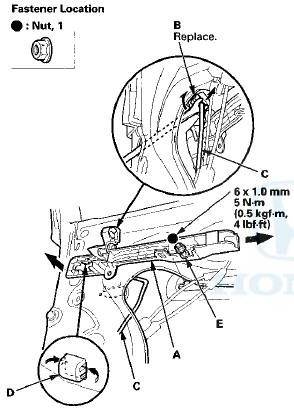
13. Remove the rod fastener (A) from the outer handle base (B), then replace it with a new one.
14. Install the outer handle in the reverse order of removal, and note these items: - Reinstall the lock cylinder (driver's door) or the outer handle holder (passenger's door) before installing the outer handle cover.
- Make sure that the power door lock actuator connector is plugged in properly, and that the lock cylinder cable and the outer handle rod are connected securely.
- Make sure the door key cylinder/door locks operate properly.
- Make sure the door handle works properly.
- When reinstalling the door panel, make sure the plastic cover on the door is installed properly .
- Push the clips and the hooks into place securely.
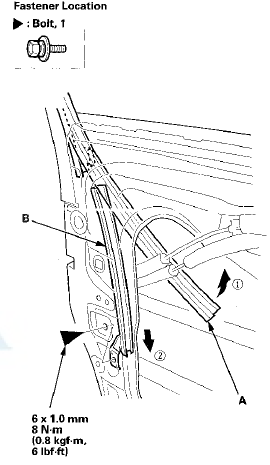
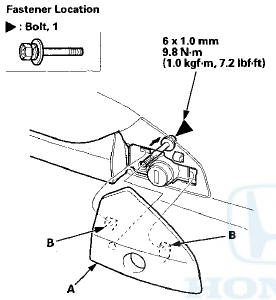
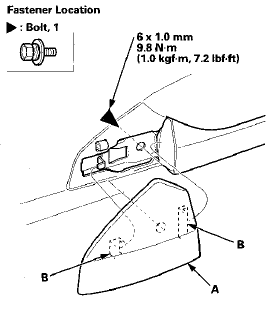
 Front Door Panel Removal/Installation
Special Tools Required
-KTC Trim Tool Set SOJATP2014*
-Trim Pad Remover Snap-on A 177A,
commercially
available
*Available through the Honda Tool and
Equipment
Program; call 888-424-6857
2-do ...
 Front Door Latch Replacement
NOTE: Put on gloves to protect your hands.
1. Remove the door panel and the inner handle:
- 2-door ( s e e p a g e 20-12)
- 4-door (see page 20-17)
2. Remove the plastic cover, as needed (see st ...
See also:
Trim Remowal/Installatlon - Rear Side Area
Special Tools Required
KTC Trim Tool Set SOJATP2014*
*Available through the Honda Tool and
Equipment
Program; call 888-424-6857
2-door
SRS components are located in this area. Review the
SRS c ...
Cam Chain Case Oil Seal
Installatio
Special Tools Required
Driver Handle, 15 x 135L 07749-0010000
Attachment, 52 x 55 mm 07746-0010400
1. Clean and dry the crankshaft oil seal.
2. Apply a light coat of new engine oil to the lip of ...
Resetting the Power Window Control
Unit
Resetting t h e power w i n d o w s are r e q u i r e d w h e n any of
t h e f o l l o w i n g have occurred:
• Power window regulator replacement,
r e m o v a l / i n s t a l l a t i o n , or ...